Surface Design Study : Research & Design

Surface Design Study : Research & Design
----------------------------------------
Howdy partners! For this project I started by looking at ornamentation pattern designs within textiles. I looked at things like Bed Sheets, shirts, sweaters, shorts, etc. A majority of my focus was actually in my parents closet. There was a variety of aesthetics such as natural based, geometric, abstract, and animal prints.
I liked the patterns with more layering on them or different
interacting elements such as thick and thin lines, flat colour
and more realistic, and so on.

Then, I stumbled across various knit sweaters, cardigans, and dresses
that really caught my eye. I kind of thought of these as "invisible ornamentation" because it wasn't initially what I was looking for. I thought about patterns as being dyed/printed on the clothing. However, these were more physical patterns, usually being all the same colour/limited colour palettes but very intricate and layered
pattern work.
In my design I borrowed from the arrow looking pattern in the bottom row, specifically the strands of thread in between the arrows the appearance of depth and shading. I also like the zig-zag pattern work in the most bottom left and how there are gaps surrounded by natural looking threadworm. Generally I ended up taking the general "vibe" of the pattern work and created my patterns off of that.

-------------------------------------------------------------------------And so, I decided to start forming some ideas and sketches mainly influenced by these knitted clothes. These are quarter sections that I would then mirror and rotate to create the centre design that I would then expand the further design out of.
I first sketched it on some paper and then took it digitally to do the mirroring.

I then chose 8 of the designs that I liked the most to take to the next step which involved taking the quarter section and making 3 other copies of it.

I then took my 2 final options and further expanded the design so that I could make my final choice, and I ended up choosing the right
one.


-------------------------------------------------------------------------
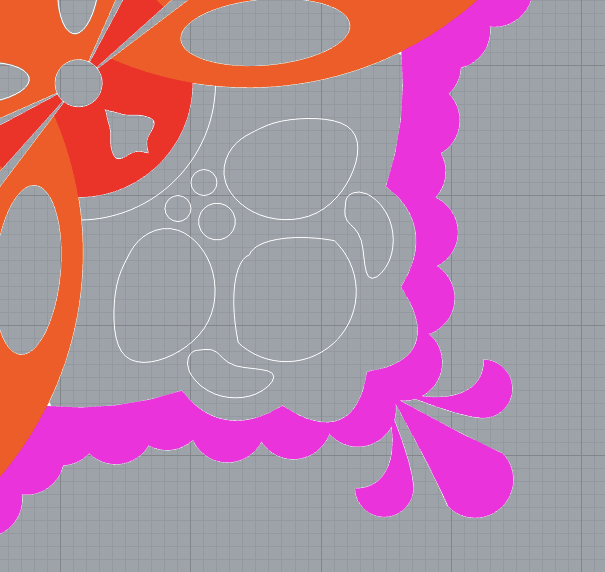
When I started actually making my design in Rhino I found a "Draw" tool and so I decided to use this for my more natural looking lines. And because my sketch was hand-drawn, they weren't symmetrical in the reference, so I just chose 1 side to base by lines on that I then would mirror.

I also used the regular shapes as well, such as circles. For this section I copied a circle around the edge of another shape that I had locked. Afterwards, I would unlock it and Trim the parts of these circles that I did'nt need.


Then I had completed my lifework - which I had all on one layer - and i didn't find a lot of difficulty in this portion of the process.

-------------------------------------------------------------------------

 I started encountering some struggles with filling in some shapes because I had a mixture of geometric and natural shapes. Some of these natural shapes accidentally overlapped as I made them and so this would prompt and error :Self intersecting curves. So as a solution I would select small portions, and try hatching them. If the error appeared I knew which shapes where the problem so I then remade them using regular shapes. In some sections with a lot of lines I would try other methods as well, such as putting Points on each end or intersecting area. But ultimately what helped was breaking down certain large segments into smaller sections using the line tool. This allowed me to focus on one portion at a time that I then could mirror to other parts of the pattern. I also faced another issue with the prompt "Curves were not co- planar" However, I was also able to fix this with some playing around and separating parts into smaller sections.
Afterwards I moved on to experimenting with gradients. I used radial gradients for each circular sections and linear for more single lined areas. With the gradients I wanted to create an illusion of depth as if some parts were going under other layers and so on, similar to some of my inspiration from knitting patterns.
In the gradient panel there is an add and remove button which I would use to add different colours/take away some. And then with the edit button I could take the colour points on the gradient line and move them around. There is also a Match button that allowed me to match my gradients in different areas so I didn't have to recreate it every time.


I ended up choosing the middle top colour variation as it had a good amount of contrast and nice colour combinations that kind of reminded me of a jungle, snake, or generally some nature.

Thanks!


Comments
Post a Comment